Archive Files to Discs with Autoloaders
Instruction on operating Disc Archiver to utilize Acronova Nimbie USB Disc Autoloader to burn mass amount of data from hard drives to multiple optical discs.As Blu-ray recordable is becoming less expensive, optical discs as archive solution is getting more popular with its long life span. Disc Archiver is designed specifically to backup large amount of data to multiple discs, additionally offer hands-free operation with disc autoloaders like Acronova Nimbie USB series.
Install Drivers for Disc Autoloaders
When using Nimbie USB disc autoloader for the first time, please download and install drivers from www.acronova.com.Install Disc Archiver
Download and install the latest version of Disc Archiver from: www.broadexsystems.com. Registration is free and required for first-time users.
Configuring Disc Archiver
Follow the instructions below to go over important settings in Disc Archiver.
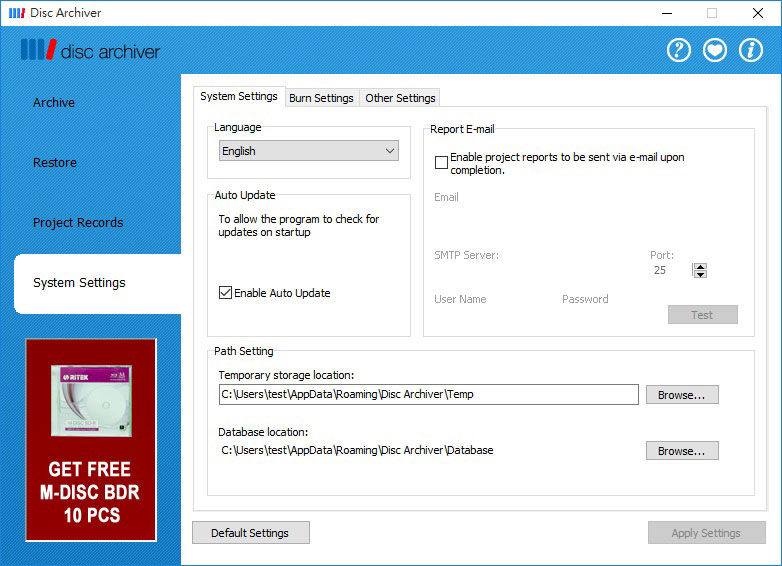
Path Setting
A default folder is automatically set for storing temporary and database files. The location can be changed if desired. (Note: the user account must have the privilege to access and edit in the selected folder.)
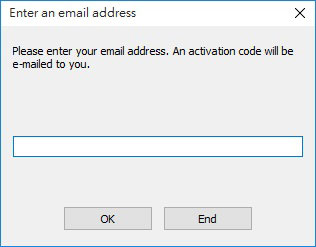
E-mail Report
Enter an e-mail address and to allow reports to be sent via e-mail once the jobs is completed by Disc Archiver. Contact your Internet Service Provider for mail server related settings.
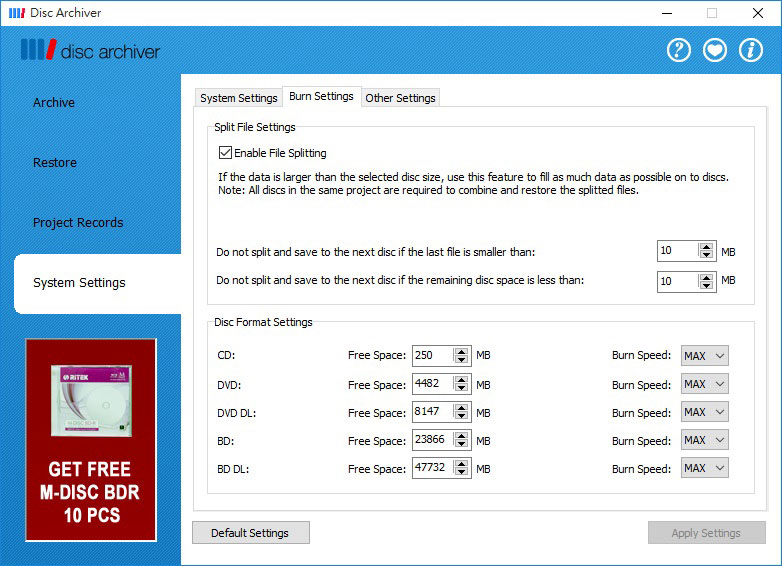
Disc Format Settings
Select and set up the desired disc type. The data track which is close to the edge of the discs are typically less stable and may result burn failure, it’s suggested not to set free space too close to the maximum disc capacity. Burn speed can be set at lower speed to improve quality of the copies.
Split File Settings
Files which are larger than disc capacity can be split and saved to multiple discs, then restored with Disc Archiver. Each disc would automatically be filled up to its maximum capacity in order to save discs. Additional settings allow user modifications to efficiently utilize available capacity based on file size and remaining disc capacity.
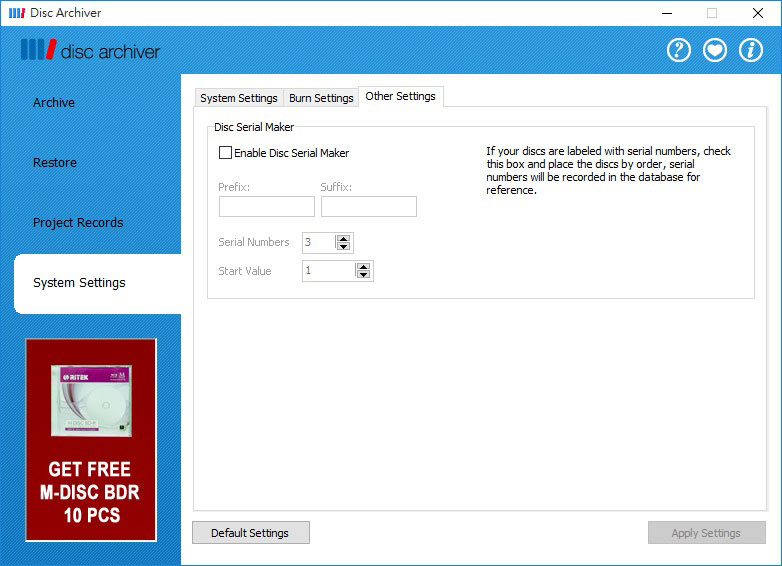
Serial Number Assignment
Serial numbers can be assigned to match the serial numbers which are pre-labeled on discs. Simply load the pre-labeled blank discs with the first of the set at the bottom then start the burning process. (Refer to Start Burning for details)
Project Archive with Disc Archiver
Follow instructions below to backup data from hard drive to discs with Nimbie USB Disc Autoloader.
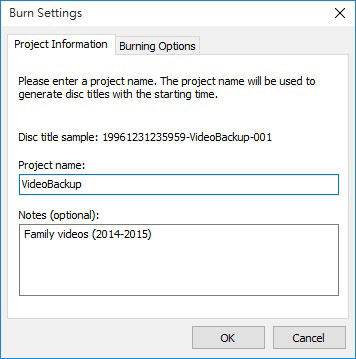
Project Setup
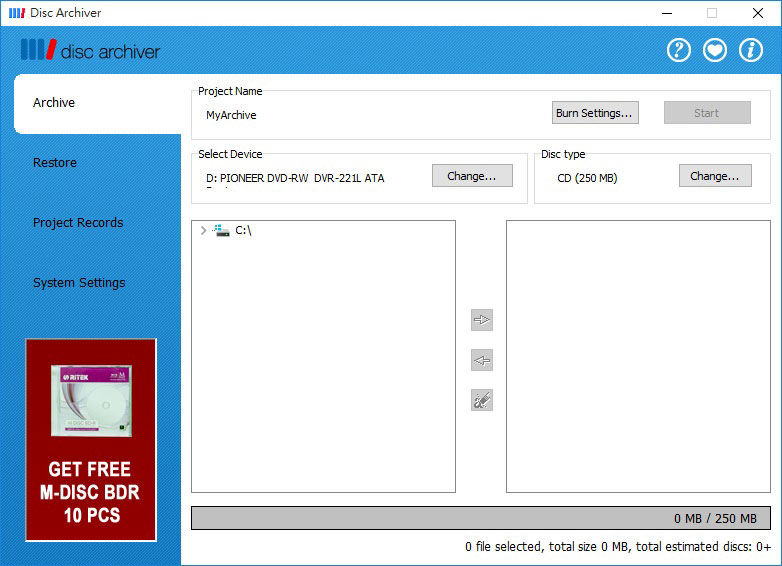
Under Archive tab, click on Burn Settings button to access Burn Settings. Project Name can be assigned (maximum 13 characters), then Disc Title will be generated accordingly with date and disc numbers. Notes can be added in the field below.
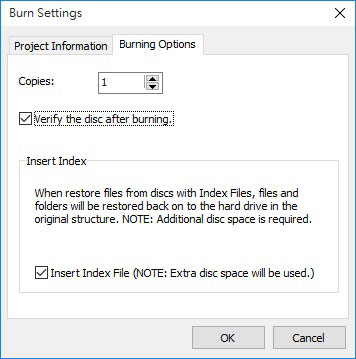
Under Burning Options tab, desired amount of backup copies can be set. When “Verify the disc after burning” is checked, each disc will be verified right after the burning is completed.
With “Insert Index File” checked, a database file is generated for the project and burnt onto each disc copy. The index file allows users to access detailed information on the project, as well as restoring files and folder back to the original location and folder structure.
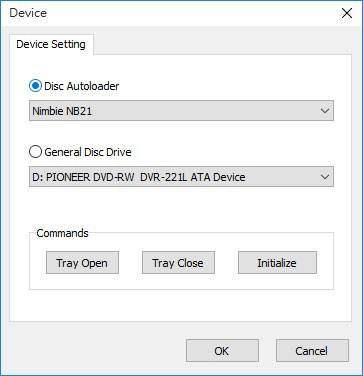
Device Setting
Select ’Nimbie NB21‘ to utilize the robotic loader for hands-free disc feeding.
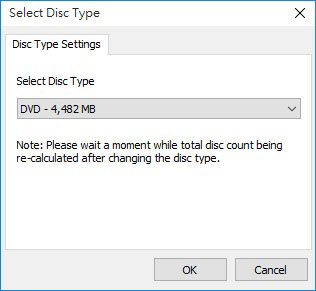
Under Disc Type Settings, select the type of disc you wish to use.
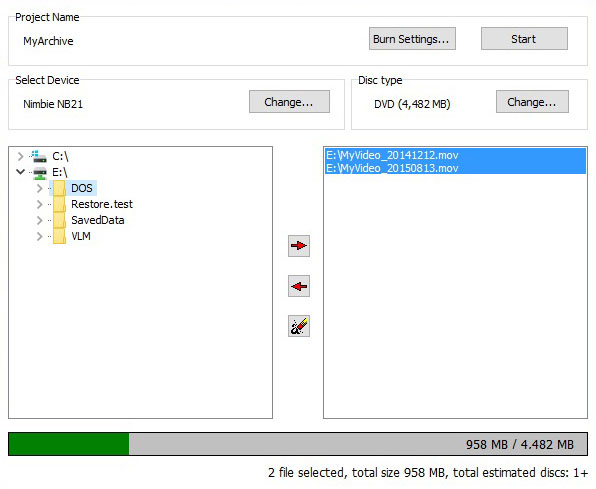
Select Files and Folders
After going through all settings, select the files and folders that you wish to backup, then click the » icon to add to right column. To remove, click the « icon. (Tip: Hold Ctrl and click on the files to select multiple files and folders at once.)
The estimated used disc count will be displayed at the bottom.
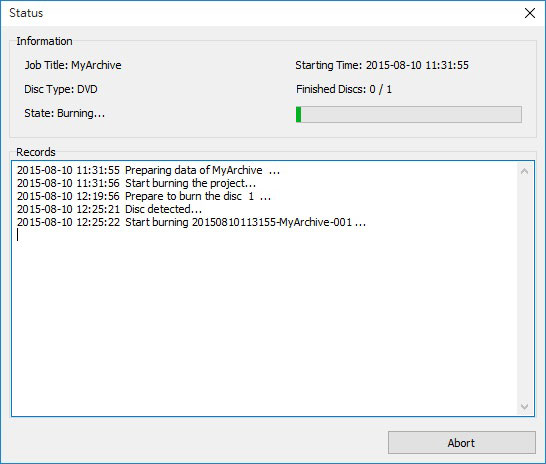
Start Burning
Click on Start to begin copying the selected files and folders to optical discs. Progress status will be displayed on screen during the process. With Nimbie Disc Autoloader, the system would automatically feed discs and separate failed copies from good ones.
If the Enable Disc Serial Number function is activated, be sure the disc with lowest number is placed at the bottom. If a bad copy occurs during the process, the number would be skipped and the same data will be burnt on to the next disc.
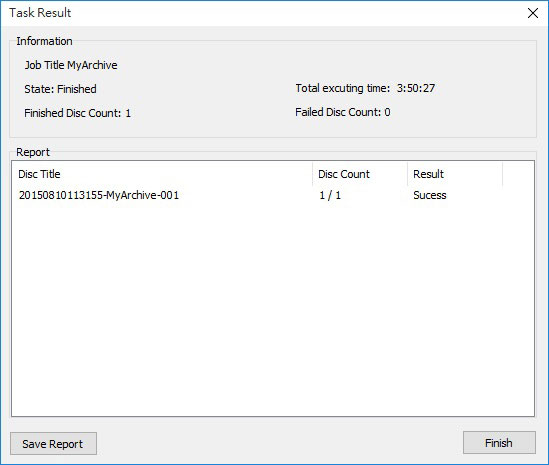
View Task Result
A task report is displayed once the job is completed. Click Save Report to export records to a text file.
To restore data back to HDD, please refer to Restore Data from Discs with Autoloader.